This document contains instructions on how to simply connect to Tabor Electronics devices via their USB port. The following devices are covered in this document.
- Entire WX Series
- WS8351 / WS8352
- PM8571A / PM8572A
- To connect the Tabor unit via the USB port:
1. Install the IVI Foundation device driver, which can be accessed either on the CD-ROM disk provided with your Tabor device, or from Tabor Electronics web site at http://www.taborelec.com/downloads.
2. To download the driver from the web site, click on Downloads, and select the model from the Model Number drop-down box, and select “Drivers” from the Download Type drop-down box. Click on the Search button.
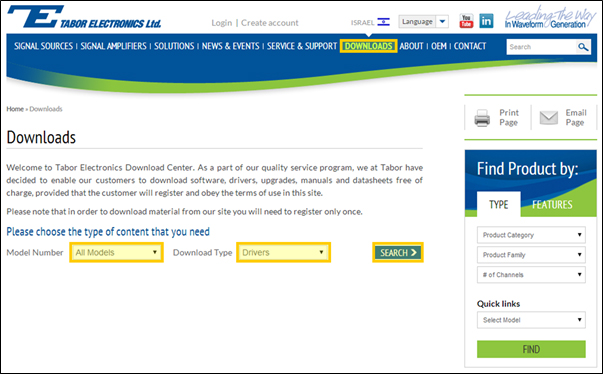
Download a suitable IVI Foundation driver (for either 32-bit or 64-bit operating systems) from the selection of drivers that appears.

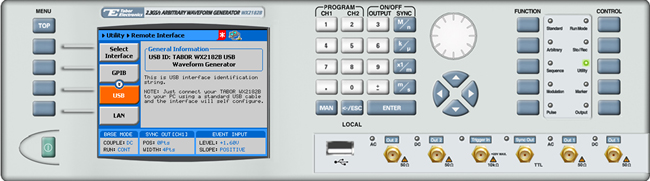
3. To activate the USB interface, access the Select Interface screen from the Utility >> Remote Interface menu, select the USB option, and press ENTER.
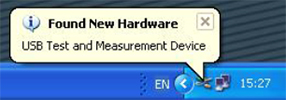
4. Connect your computer to the device using a USB cable. The following messages will appear on your computer screen:

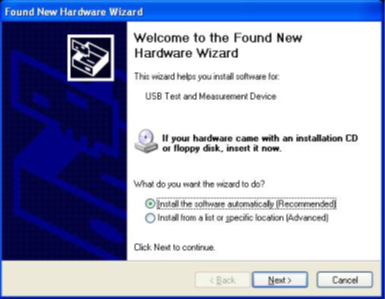
5. The Hardware Wizard appears as shown below. Choose the Install the software automatically (Recommended) option and click Next.
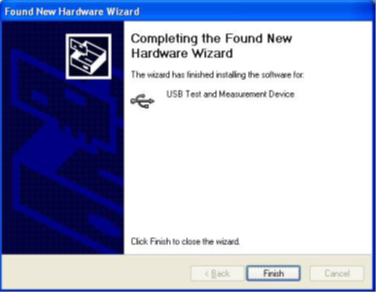
6. Upon completion of the installation, the window shown below appears. Click Finish.
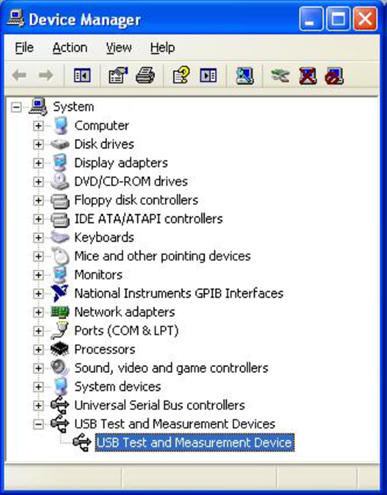
7. To make sure the device’s USB port is correctly configured, open your Device Manager (Control Panel >> Hardware and Sound >> Devices and Printers >> Device Manager) and compare the settings to the settings displayed in the window below.
For More Information
To learn more about Tabor’s solutions or to schedule a demo, please contact your local Tabor representative or email your request to [email protected]